Written by: Kaitlyn Frolek, Gallery Assistant
- To read Part 1 of this series on black and white photography click here.
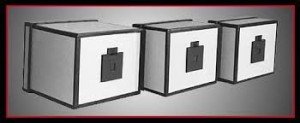
Pinhole photography: I absolutely love it! Part of the attraction to the process of this type of photography is that you are able to create and build a variety of cameras. Most commonly used items are coffee tins, soup cans, or shoeboxes. However, one can be more exploratory and build your own out of wood or other found materials that can be made into a light proof container.
Process:
The process of the camera and its construction are quite simple. Start by making your camera light tight, paint the inside black, and secure the lid or surface that has your pinhole and shutter. A neat trick to ensure there is no light coming in to your camera is to place your phone inside with a flashlight on or any other type of light source, close up the camera as if you were going to get ready to take an image, and see if any light seeps out of the camera. This enables you to fix any problems before they happen. Once your camera is light proof, you can then add your small pinhole and secure a shutter over top (something as simple as a piece of cardboard taped over the pinhole). To “load” your camera, this means to put film or light sensitive paper at the back of the camera. Make sure you do this in complete darkness. It is important to note that this type of camera does not have a lens, if it has a lens it is not a true pinhole camera.
When the shutter is opened on the camera, light enters the camera, and creates an image on your light sensitive material on the opposite end of the camera. In this form of photography, light travels in a straight line. A concept called rectilinear theory of light. This is what makes your picture appear upside down on your light sensitive material. Also, something important to note is that a smaller camera will produce a sharper image than a larger camera.
Focal Length:

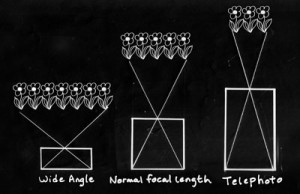
Focal length in your camera is the distance between your pinhole and the back of your camera. This distance also determines the diameter of your pinhole size, which assists in determining exposure times. There are a few types of focal lengths you can make with a pinhole camera:
Wide Angle – this type of camera focuses on a wider image and has a shorter exposure time. This is due to the fact that the pinhole and the film or photo paper are so close to one another. If you expose for too long, than you will have a very dark image or one that is completely black.
Normal Focal Length – this camera will take an image that is slightly smaller and further in distance than a wide angle. Normal focal length cameras are most often used to take pinhole images.
Telephoto Length – this camera acquires an image from a further distance and can be blurred. This is because the light from the pinhole must travel a further distance and can scatter more easily than a shorter distance camera, such as the wide angle.
Vignettes:
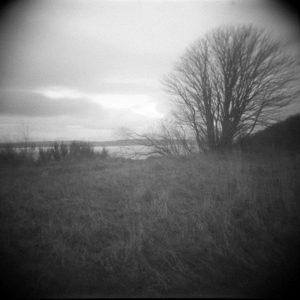
Vignettes are often a desired feature of the pinhole camera. A vignette transpires when light is forced to extend further to the outside edges of your pinhole circle to the film or paper. It leaves these area underexposed, creating a circle around the focused areas of the image taken.
For more information on a step-by-step construction of a pinhole camera you can visit the Kodak website. They give information on exposure times, film development, and image processing: http://www.kodak.com/ek/US/en/Pinhole_Camera.htm
—
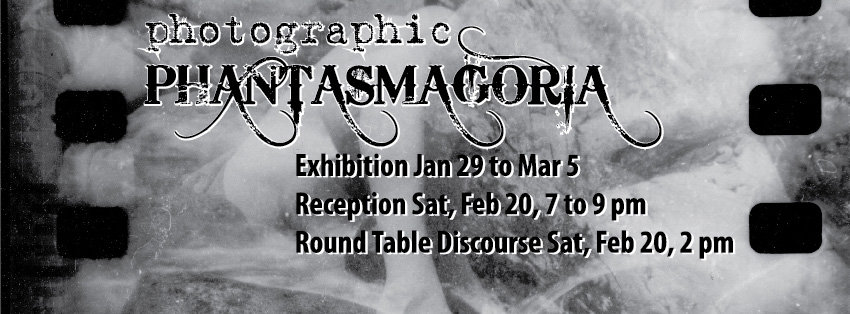
To see the results of these photography methods in person, come view Photographic Phantasmagoria in Affinity Gallery! More information.