Written by: Glen Friesen, Industrial Arts Teacher at Waldheim School

Maui is a character from the Disney movie “Moana”
Waldheim School is a kindergarten to Grade 12 school located in the town of Waldheim, about 40 miles north of Saskatoon. Students enter the Industrial Arts program in Grade 7 and continue through to Grade 12. The high school students enjoy almost complete freedom when it comes to their choice in project. Because project choices are student-driven, many unique projects are produced each year.
Students are exposed to many craft forms in the Industrial Arts program. Students can study lutherie, intarsia, woodturning, inlay, jewellery making, chainmaille, sheet metal work, welding, and all manner of woodworking.
This post features woodworking by Waldheim students Cate, Julia, Philip and Taylor.
The Maui’s Hook project was introduced about three months ago. Students had a great time making this project in our Grade 8 class. The pictures below describe how they did it.
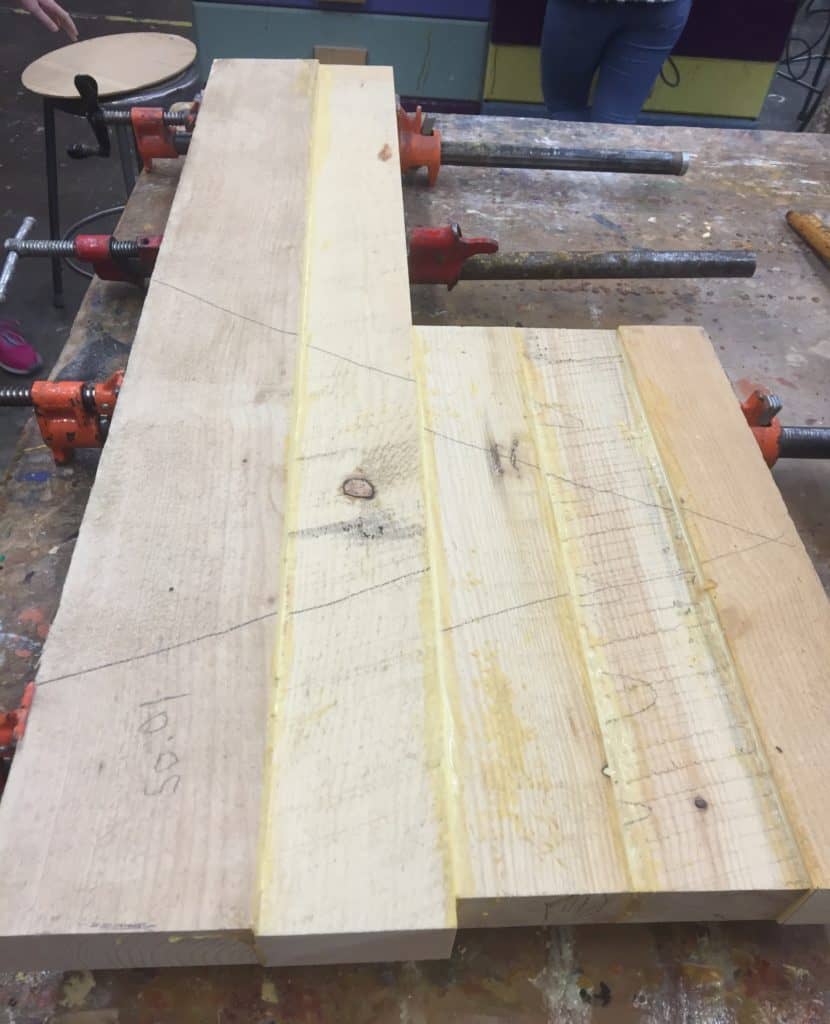
Step 1: Select the wood, hand plane the edges, and glue and clamp the boards to make a piece large enough for the hook.
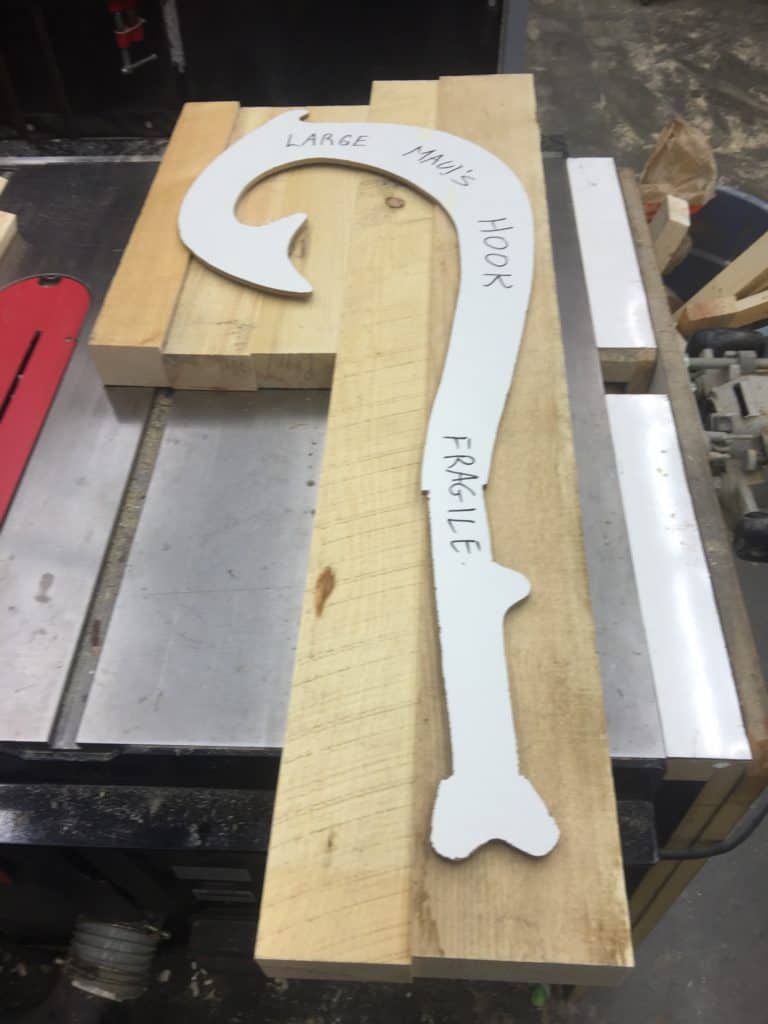
Step 2: The clamps have been removed from the wood because the glue has dried. Just checking to make sure that the pattern fits on the blank.
Step 3: Using the shop’s thickness planer to plane the boards to the correct thickness.

Step 4: Tracing the hook template onto the wood.

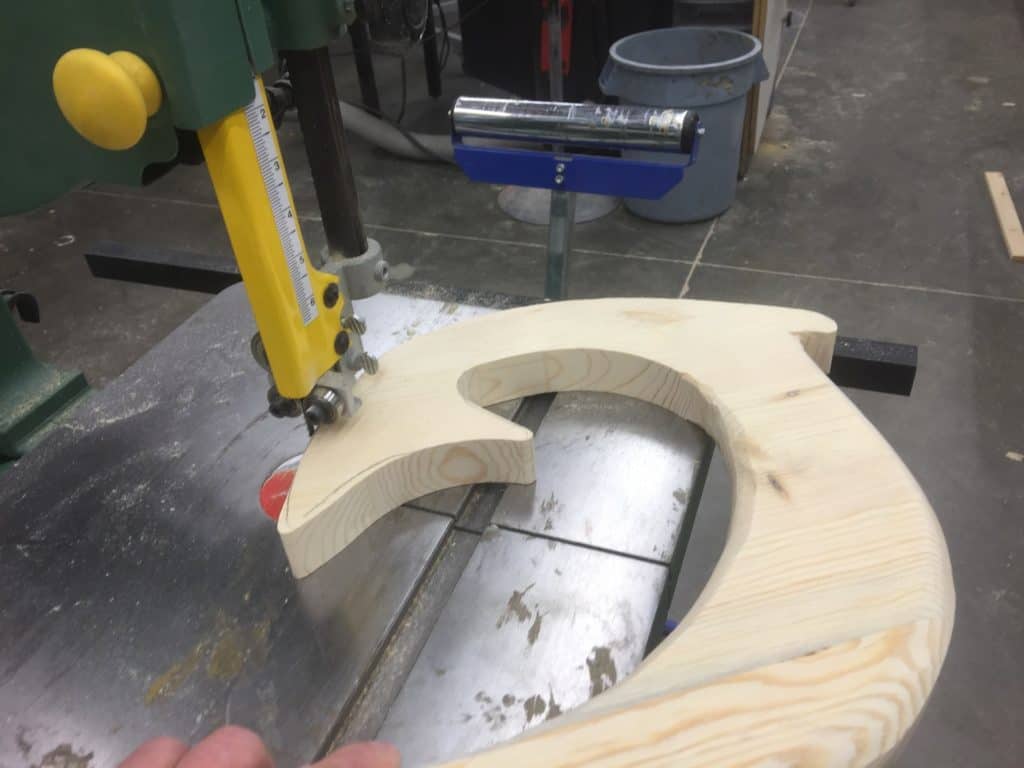
Step 5: Cutting out the wall-mounting bracket on the band saw. The hook was cut out the same way.

Step 6: Fine tuning the cutting of the hook on the band saw.
Step 7: Sanding the edges on the spindle sander.

Step 8: Shaping the hook with an angle grinder and sanding flap disk.

Step 9: Hand sanding.

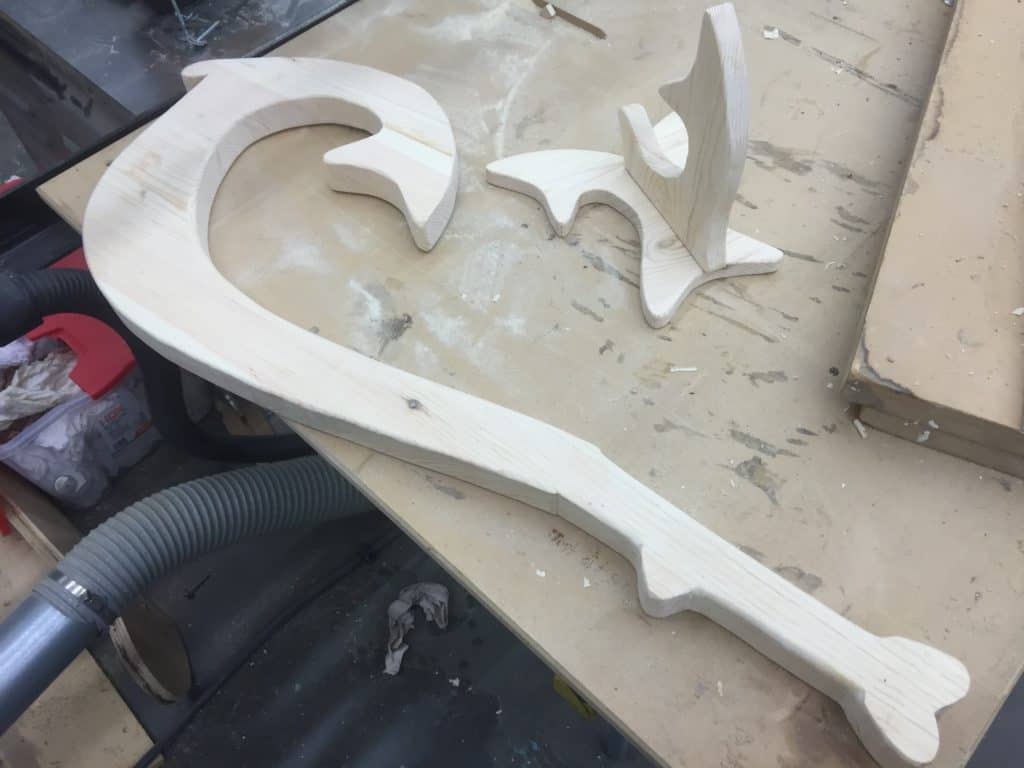
Step 10: The wall mount assembled and both pieces are ready for artwork.
Step 11: Drawing the artwork in pencil and then using a woodburning pen to burn it in. Friends come in handy at this stage.
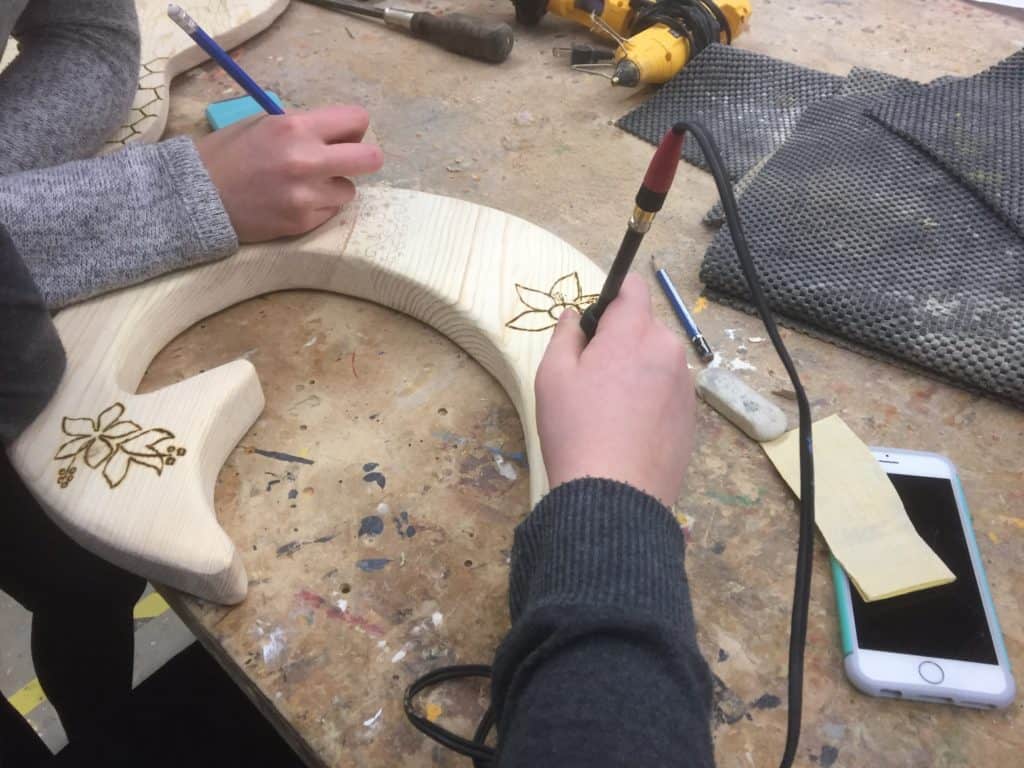
Step 12: A close up of the pyrography process. This was a lot of fun.

Step 13: More pyrography.

Step 14: Applying the finish.

Step 15: Applying the braided rope handle required patience and hot glue.
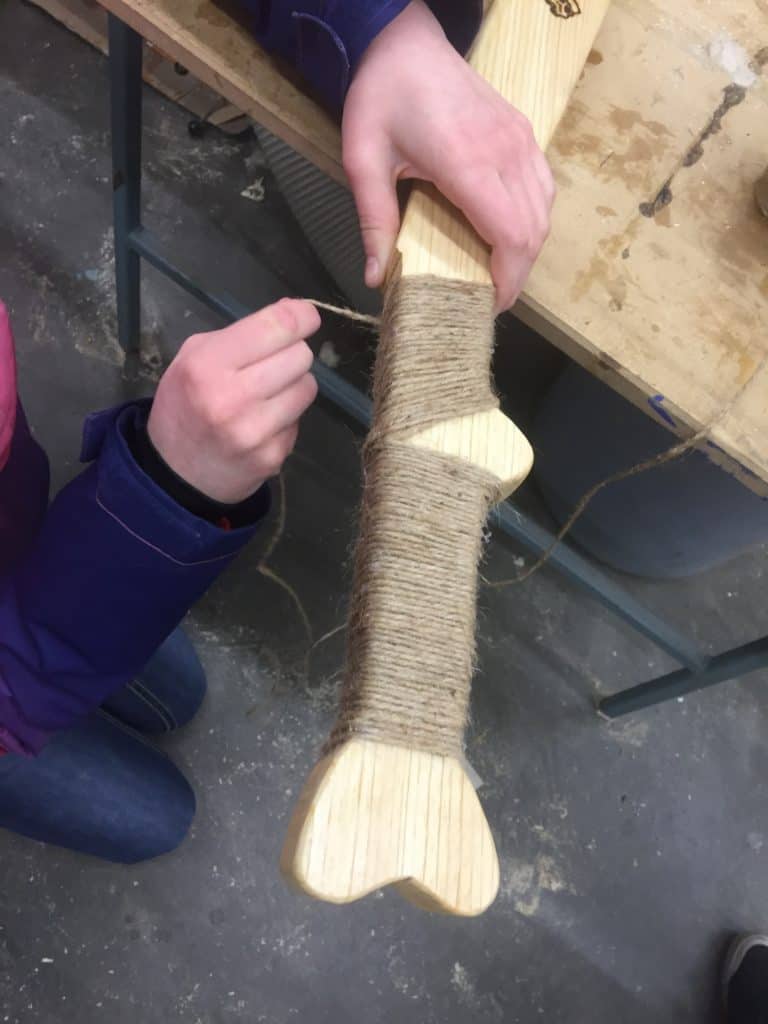
Step 16: The handle is done.

Step 17: The finished product.

Another example of a completed hook.

Teacher’s Note: These are really cool projects. Thank you Cate, Julia, Philip and Taylor for sharing your work with the Saskatchewan craft community.